The Over-Warm-Up

This is a technique I use with some of my lifters to increase their confidence on the bench press. It’s not a new idea, and people have been using it since the dawn of time, but it’s something we haven’t discussed on the site, and I get a lot of questions about it. I call it the “Over Warm-Up (OWU).” It’s a very technical and marketable name, I know. What does it mean? What do you think it means? It means you warm up to a heavy single before your work sets. Complicated stuff.

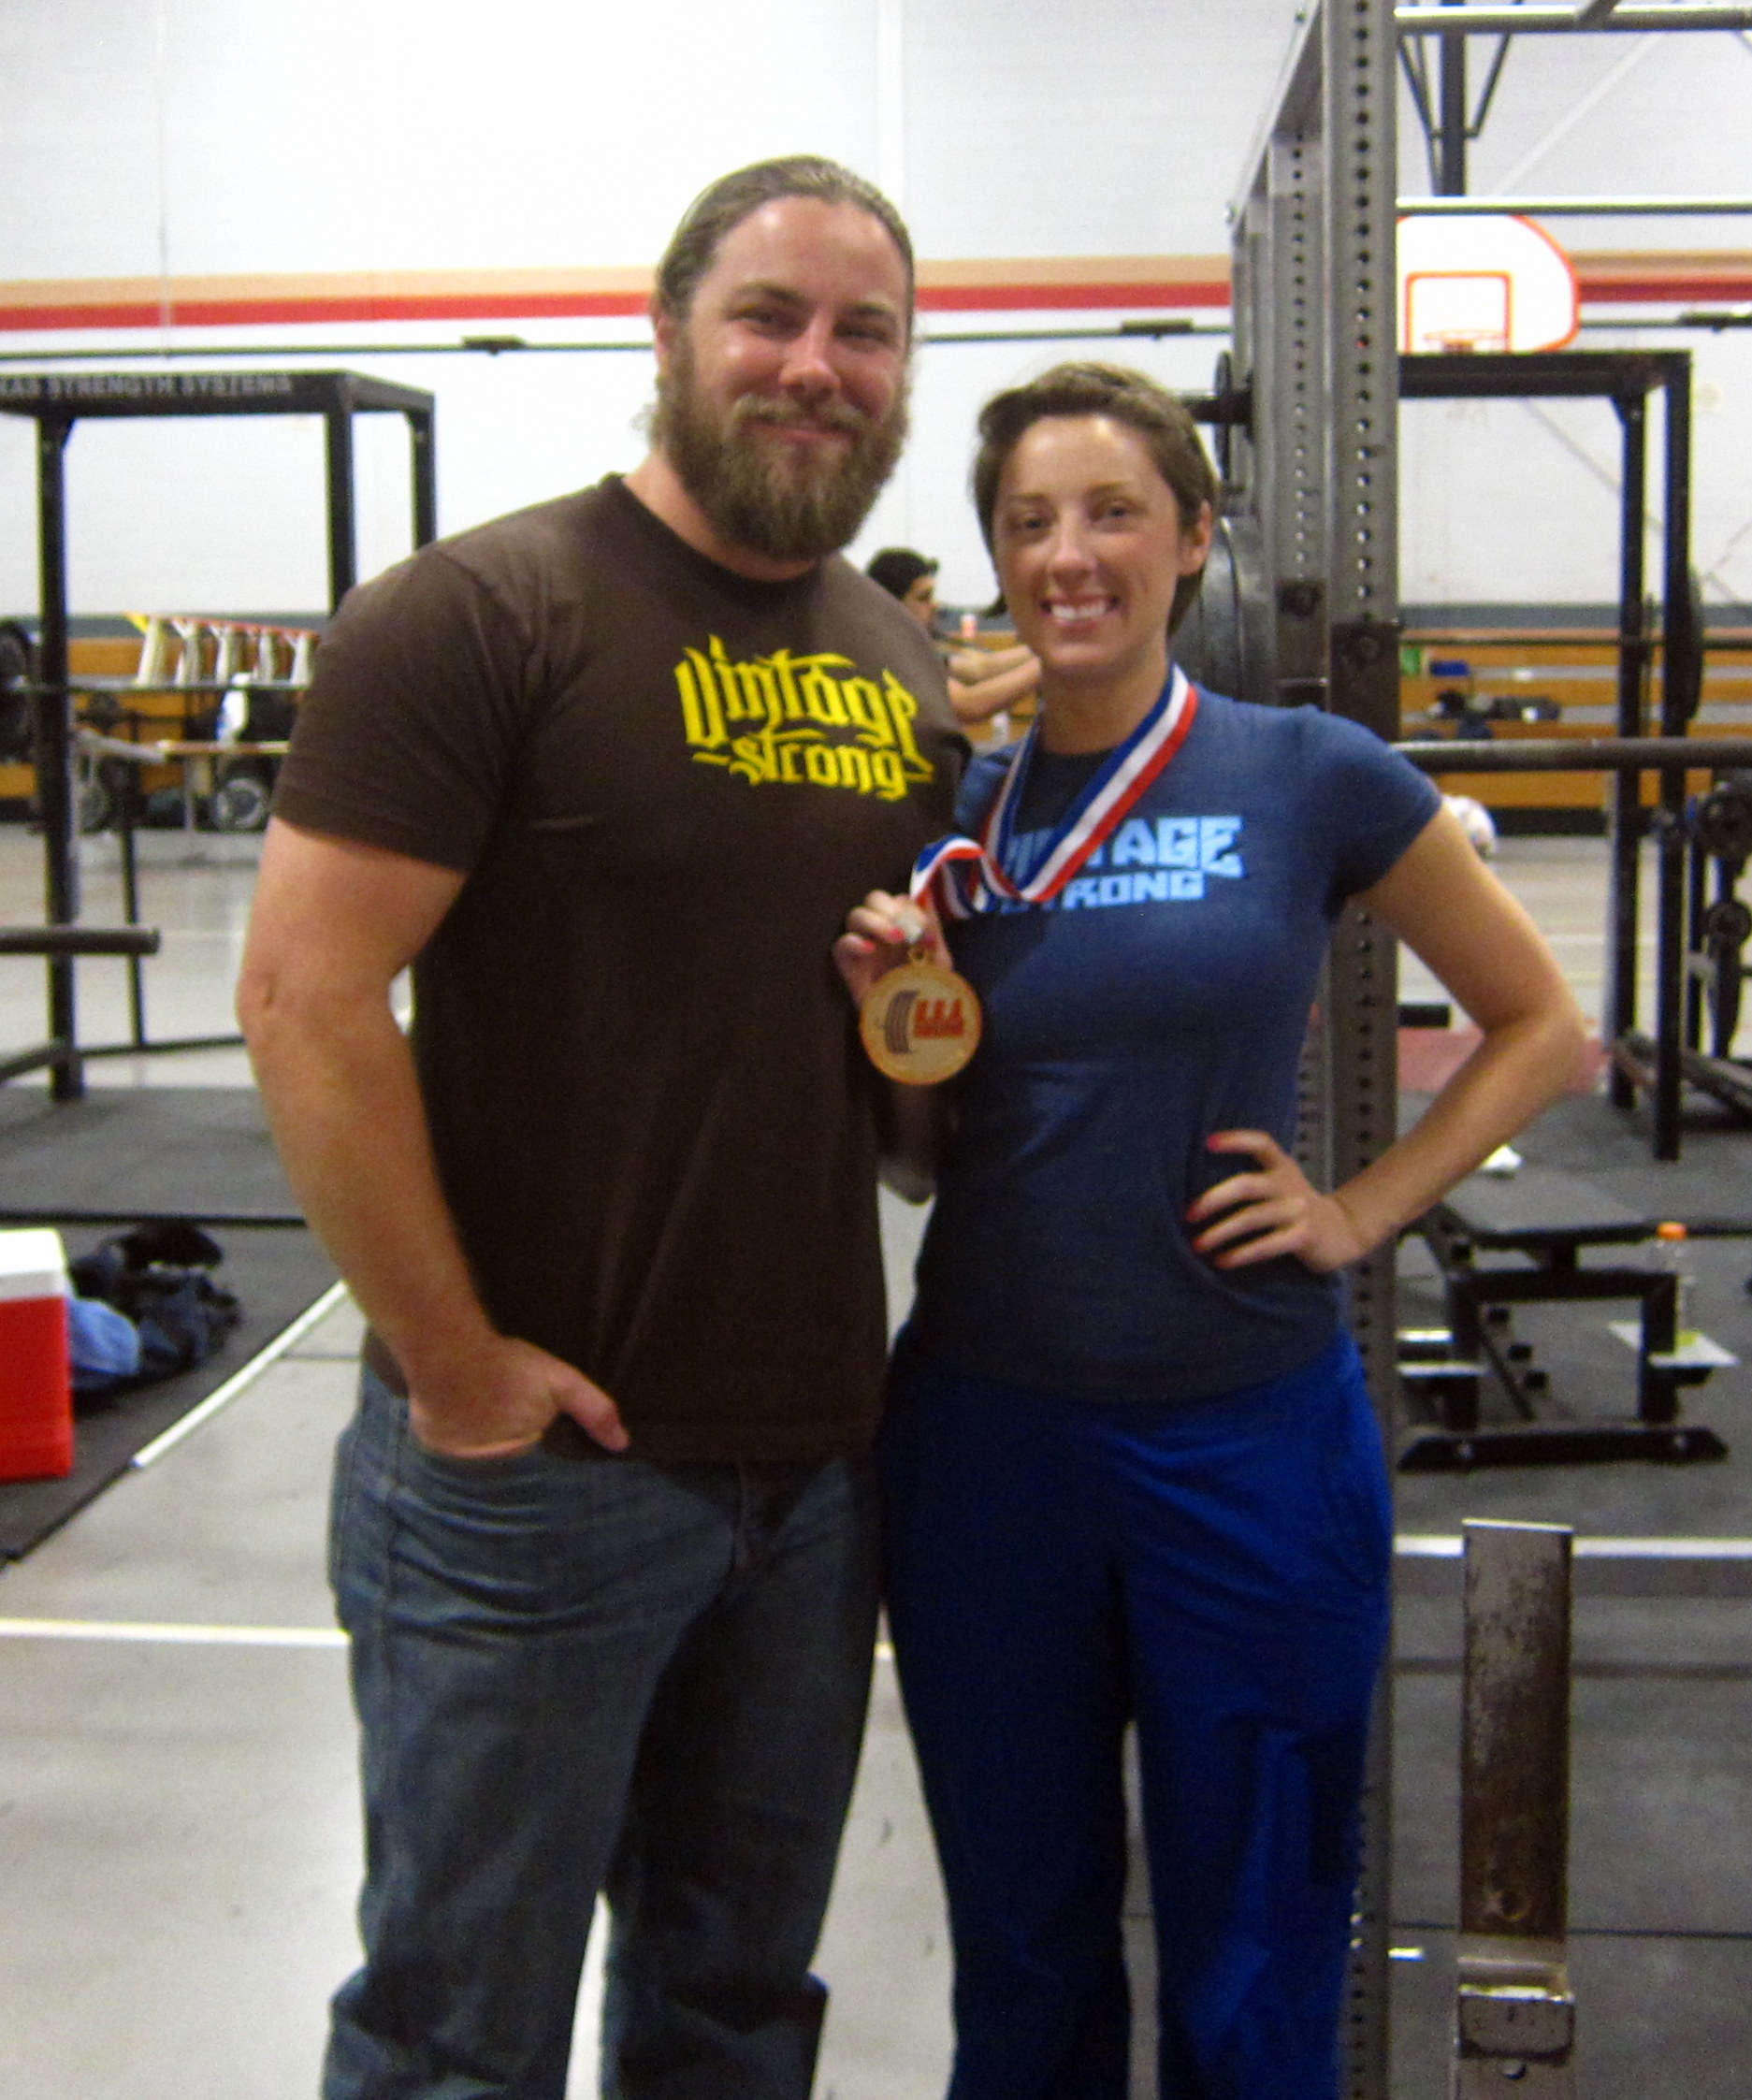
It might not have a sexy name, but it works. I’ve used this with a quite a few lifters to build confidence on heavy benches and to get them past long-term sticking points. In the past few months, RoryT used it to go from a 285 max bench to hitting 300 for the first time, then a couple weeks later, crushing 300×2. Jess used this technique to handle 95lbs dozens of times before her meet last weekend, where she hit two easy Meet Bench PRs. Many guys over on the LHS Forums are using it with success. You could also use it for various other lifts, like presses, push presses, even squats – though I think it’d be a pretty terrible idea on deadlifts. The target audience for this approach will be primarily novices and intermediates. If you’re an advanced lifter, chances are you’re not likely to benefit much from it, as you’ve already had years to master the mental aspects of the main lifts, and you’re quite capable of getting psyched up for a heavy PR single.

However, many lifters will find themselves “nervous” about certain weights, especially in the beginning stages of getting stronger. Typically, these hurdles revolve around a combination of big plates and 25lb plates. The weights I’m talking about here are usually 185, 225, 275, 315, 365, 405, etc., though the OWU can be used for any mental sticking point (the 200 and 300lb benchmarks can be just as intimidating as any other, even though they don’t look that special on a bar), or even just to include some heavy practice.

I can’t stress enough that you have a partner lift/spot your OWU, especially as you first tinker with it. Never pick a weight you can’t handle – if you are EVER missing a rep on your OWU, you’re doing it way, way wrong. You need to pick a weight that is well within reach – it’s not supposed to tire you out, or require a psych-up. It’s not an excuse to get greedy and “max out.” It’s just something to stomp on until it’s dead. Then you move on to the next enemy, and stomp it. Here are a few examples of how I implement it.

Example A: The Novice
Most novices should be on a simple linear progression, and our imaginary example is benching every other workout for 3×5 (or 3×5+, going for max reps on the last set). Let’s say they’ve gotten their LP from 165 for 3×5 to 212.5 for 3×5, and they’re now adding 2.5lb (or less) per workout and trying their damn hardest to continue progressing, with visions of 300+ in their head. This person would normally warm up to 212.5 like so:
45 x Lots, 95×5,5, 135 x 5, 185×2-3, 200×1, Work Sets @ 212.5.
Adding in an OWU at 225 is perfect for this person. Not only will they get used to handling 2 plates, they will KNOW they can hit it any day of the week, helping them feel more confident about getting up to it for their 3×5 work. Their warmup would now look roughly like this:
45 x Lots, 95×5,5, 135 x 5, 185×2-3, 205×1, 225×1 (OWU), Work Sets @ 212.5.
They would use 225 as their OWU for a few weeks until it was laughably easy, or until their work sets have actually caught up to that level (in this case, 225). At that point, they can either ditch the OWU for awhile, or move it up in 5-10lb increments if they enjoy feeling a bit heavier singles before their work sets.
Again, please note that a proper OWU is NOT heavy enough to constitute a large amount of work. It should not be a grinder. It should not impede the lifter’s ability to perform their work sets. Take a few minutes of rest after the OWU before your work sets, just as you would after your final normal warmup.

Example B: The Intermediate
Let’s say we have a typical intermediate lifter using the Texas Method. He got his linear progression from 205 3×5 up to 245 for 3×5 after a couple months of hard work and proper dieting and too many resets. He’s gone from benching around 225 for a single to around 285 or so on a good day, but something about 275+ just makes him a bit nervous. On his Intensity Day, he’s trying for 5RM’s in the 255 range, and his Volume Day is starting at 225 3×5, because he refuses to use less than 2 plates for his Volume Day.
This lifter should utilize the OWU on their Volume Day, but not on their Intensity Day. In this case, I would have them work up to 275 and then backing down to their work sets. It would look something like this:
45 x Lots, 135 x 5,5, 185×5, 225×1-2, 255×1, 275×1 (OWU), 225×5,5,5

The lifter would NOT use the OWU on their Intensity Day, as they should conserve every bit of energy they have for a big PR. The Intensity Day would still look like this:

45 x Lots, 135 x 5,5, 185×5, 225×1-2, 255×5 (PR)

Note: I prefer TM lifters to use as little supportive gear on their Volume Day as possible when they’re a ways out (IE, more than 6-8 weeks) from a meet. This means they would usually use no belt or wrist wraps on VD for bench, even if they use them on ID. The OWU is an exception – it would be acceptable to “gear up” for it, especially when first implementing it. Of course, keep in mind 132lb Jennifer Thompson doesn’t wear a belt for her 300+ raw bench, so…just sayin’. After a few weeks of using wrist wraps and a belt with 275, the lifter could then practice dropping the gear, or slowly increasing the weight of the OWU. Preferably, they’ve decided to enter a meet, which leads us to…

Example C: The Competitor

Another great use for the OWU is to practice some simple raw paused work on the bench, especially near a meet (starting 4-6 weeks out or so would be appropriate). Again assuming a typical TM template with a Vol/Int day each week, I would also have this lifter use the OWU on their Volume Day before their work sets, but in this case, I would have them practice their opening (paused) bench attempt. This is an excellent way to add in some practice getting used to the commands. It’s particularly helpful for USAPL lifters who might experience long “start” and “rack” commands, depending on the judge. As they get closer to a meet, the pause should be slightly longer, and the speed coming off the chest should be noticeably improved. At the meet, they’ll have 100% confidence in their opener.

The OWU is a tool that can be used effectively. It is by no means required in all successful programs, but give it some consideration, and feel free to play with it in your own programming. You might like it, and hopefully, it will lead to lots of new PRs.


AC Discusses Squats

Here’s the third installment of “AC teaches you how to do stuff more awesomely.” So far, he has gone over some tips on how to press better and how to bench better. Today, he goes over how to coach the squat.


There are two basic variations of the back squat: High Bar and Low Bar. They’re two different squats, but there are semi-similar ways to go about learning/doing/coaching them.

I want to help you teach the squat in general. First and foremost, you are going to to have the athlete stand in front of you like a mirror. Next, you are going to tell them to place their feet shoulder width apart. Just like the grip on the bench, this stance will provide the longest ROM with the most musculature utilized in the lift. It’s similar to the bench in that it’s harder to put your femurs into external rotation the wider you go (shoving your knees out). Next, their toes are going to be slightly pointed out. This will allow the athlete to shove their knees out to perform full ROM and get external rotation more than if their toes were pointed straight. depthIf the toes are straight (most athletes don’t have the mobility to accomplish toes straight and knees out) and the athletes knees are forward instead of out all that muscle and bone and fleshy area of the hip/femur mash into one another making it harder to achieve depth. With that said, have the athlete squat down to depth and stay down there. Note: this is without the bar. Have the athlete take his hands, put his palms together and with his elbows, shove the knees out. All of this is being down while maintaining extension in both lumbar/thoracic spine (WE ARE STILL AT THE BOTTOM OF THE SQUAT).

Now this leads into the low-bar squat. Low bar uses a little more hamstring than a high bar, but if your athletes are doing a lot of cleans (full cleans) then the high bar may be of more use to you because the squat in the clean is similar to a high bar squat.

In case I lost your attention…

bane

From there you are going to walk around behind the athlete and place your hands on their low back/hips and apply slight pressure. The weight should be placed right over the middle of the foot, roughly where you tie your shoe laces. THIS IS WHERE ALL THE WEIGHT IS ON A LOW BAR. You are then going to tell them to “DRIVE” their hips into your hands. This emphasizes “Hip Drive,” which is what low bar squatters use to rebound out of the hole.

Notice my hips driving me out of the bottom. Also notice how I maintain my bar position because my spine is in extension. Have them do this once or twice to get a feel for it. Another thing to note here: Their head position is neutral with their eyes fixed on a reference point a few feet in front of them. They ARE NOT LOOKING UP. Looking up destroys the tension that you attained through eccentric contraction in the hamstrings. The hips and knees move forward losing that stretch reflex. You can demonstrate this by doing a 3rd and 4th rep with the athlete in this demo phase. Have the athlete look at the ground a few feet in front of them and then command them to drive up (hands still on the hips), then have the athlete look up as hard as they can (like most coaches tell them too). Squatting should be significantly harder now. Keep in mind this is for the low-bar. You can get away with that more in the high-bar, but it’s not a good spinal position.

Now you can take them to the barbell. Start with just the bar and then move from there.  For the low bar, the barbell sits along the spine of the scapula. It’s almost like a ridge that your body creates when you place yourself under the bar. When the athlete is under the bar, move so you can be in a position next to them. From there you are going to give them the last little touch up cues. When they unrack the bar it should coincide with a large breath of air and extension of the spine. Reference my video if you need to look again. Also, when they unrack it their elbows should be applying downward pressure on the bar. Do not let their elbows slack down. All the weight of the bar is on their back NOT on their arms. Again, notice in the video how my elbows stay high. They are going to take roughly two steps back and take the same stance they had when you were teaching them before. Now right before they go, you will tell them 2 last things: A: They are going to have to shove their knees out without their elbows, and B: They are going to REBOUND out of the bottom, so basically they aren’t pausing at the bottom.

Notes:

Take a big breath and hold it for each rep. Each rep gets a new breath and it gets held FOR THE WHOLE REP.

At all times their eyes should be fixated on a reference point. It is hard to maintain balance if they are looking around.

Cues for Low Bar Squats:

“Knees out.” The athlete shoves their knees out for external rotation. Easier ROM, more musculature in the lift.

“Mid-Foot.” If you see the athlete shifting their weight, it can change the mechanics of the squat. This cues them to put their weight back on the middle of the foot.

“Drive.” This will remind the athlete to use his/her hips when they rebound out of the hole.

“Bounce.” This is tough for some people to get, but they essentially have to rebound out of the hole off of their hamstrings, using that eccentric contraction we talked about earlier. This is more of an advanced cue – for beginners, think “control down, fast up.”


Moving on to High-Bar Squats

The High Bar is similar in a few ways, but the bar placement is placed (higher) on the traps. This bar placement changes a few things. The torso has to maintain a more vertical position throughout the lift. The more vertical the torso, the more acute (closed) the knee angle will be. The “knees out” cue stays the same – it’s crucial for both styles of squats. The cue that changes here is “Mid-Foot.” The weight is emphasized on the heel, NOT the mid-foot. Put emphasis on “heels” on the way down and up. “Knees out” is just as important — common for lifters to bring them in at the bottom and on the way up in the high bar variation.


For more discussion on Low Bar and High Bar squats, see Justin’s article on the subject. Remember, neither of these articles is telling you exactly which is better for your situation, or demonizing either variation. If you’re confused, discuss the subject with your fellow lifters, your coach, and contemplate the issue quietly in the godswoods. Or, you know, try ’em both, and shit. If you can’t hit 4 or 5 plates with both variations, you should probably just do more of them. – Jacob

Jessica Wins! And You Can, Too.

The crowd had no idea. The judges – they didn’t know either. Hell, the lifter didn’t even know.

But I knew.

I knew this was a huge PR. I knew this was for the win – for the Texas State Championship. I knew my lifter could pull this deadlift, and with it, not only finish 9/9, get her first 600lb total, her first 300 Wilks score, and finish the trifecta – PR’ing her squat, bench, and dead all in the same meet, but also – she could win the freaking meet.

And she did.

I coached my special lady friend Jessica this weekend at the USAPL TX State Meet, and it went well – really well – and I’m proud of her, naturally. Luckily, there are lessons to be learned here by any competitor.

First: You have to make your lifts. The most successful powerlifters (and most of the best Olympic lifters) usually make more attempts than their competition. How do you make lifts? You have a plan, and you start conservatively. Jessica and I had talked for weeks about her squat and bench attempts. She was so confident in her 2nd attempts that there was no chance of missing them. They also happened to be 2.5kg meet PRs – what I call “chips,” meaning the smallest PR possible. Her training taper was based around these attempts – and also for modest 3rd attempts that were well within her reach.

Jess squatting >200lbs for the first time. She lost her tightness out of the hole a bit and still fought for 3 white lights. 

Second: Preparation. You can’t go into a meet having never touched 500 pounds and expect to pull 600. The Texas Method approaches that Justin and I use make sure that lifters get used to heavy weight before a meet. Jess squatted 185×2 about a week out (as part of an ascending 3×2 day) and it looked like the easiest thing in the world. When 204 was loaded on the bar, it was a perfect third call. Tough, but possible, and she ground it out for her first 200+ squat (and a 7.5kg meet PR!). On her bench, as I said, she had a 2.5kg meet PR on her 2nd, at 45kg/99lbs. Our “best case/worse case” plan called for either 47.5 or 50kg on her third, and as bad as she wanted the bigger number, after watching her second, I called for 47.5kg – which she nailed. This brings me to my next point.

Third: Trust. Trust in your coach (or handler – and yes, they’re different). Trust in your training. Trust in your taper. Trust in your strength. When I called for the 47.5kg bench instead of 50kg, Jess didn’t fight me – she trusted that I saw that her second attempt wasn’t as fast as I wanted to see, or as she thought it felt. She trusted that I knew 50kg might just be a little too much that day, and that she’d need every kilo for her total. She promptly went out and smoked 47.5kg, and will get 50kg (and then some) at her next meet. As her coach, I ensured that she (finally) got her first 100+ pound competition bench, and she thanked me later.

Trust came into play even more with the deadlift. She had suffered an injury with a kitchen knife – she nearly cut off the tip of her middle finger while unloading the dishwasher – and hadn’t been able to pull very much at all for about a month before the meet. She’d pulled 280 in the gym before the accident, and we decided that, best case, we’d go for 127.5kg/281lbs on her third as a very modest PR, but only if things went perfectly. Guess what? We never called 127.5.


Fourth: Awareness. Shit comes up in a meet. With Jess, she understands that she isn’t always the strongest person in her class. She competes to improve her own total, and to consistently hit PRs. She has a blast chipping away at each meet and slowly improving her total. Powerlifting, like every strength sport, takes years of practice for most to become the best, and Jess is patient. However, you must always be aware. For this meet, she was scheduled to lift as a 60kg/132lb lifter. Once the roster came out, I saw that the class was stacked, and asked her to lift in the 67.5/148 class. There were only 2 other ladies pre-registered in the class, so I knew she’d at least get a third place medal, and without having to suffer to make weight, she’d have an even better shot at big PRs. She stuffed her face all week, ate a ½ pound hamburger the night before (with two desserts!), and weighed in at 60.9kg Saturday morning. As soon as the squats started up, I knew she actually had a chance at taking the class. One girl, who was much stronger than Jess or the other, didn’t have much experience, and bombed out, leaving Jess and another lady to battle it out for first.

We stuck to the plan for the squat and bench, and Jess was 6/6 going into deads, 15kg out of first place. At this point, I gave her a set of headphones, sat her in a corner, and told her to stop looking at the projectors. She nailed her light 110kg opener, and her competitor opened up at 102.5 – cutting the lead down to 7.5kg. I had done my research on Jess’s competitor and had an idea of what she’d pull, and what Jess would need to pull to win. Knowing that the other woman had weighed in over Jess, I decided before deads even started that, on the third, I’d call for whatever it took to tie (and therefore win on bodyweight).

After the first pull, I called for a jump to 122.5kg (270lbs). Jess had been expecting ~117.5, but I was playing to win.

I told her to get cranked up (specifically, I said “What would Ben do?” Ben is another of my lifters that will deadlift almost anything I put on the bar) before the second pull, and she did – and made it look easy, giving us both confidence going into the third. Her injured finger held up, and her competitor had only taken a 10kg jump – dropping the lead to 5kg. I saw that she called for a 5kg jump on her third. If she missed it, Jess would need a 5kg increase (127.5/281) for the tie/win. If she made it, Jess would need a 10kg bump (132.5/292). I called for a small 2.5kg increase, so that Jess’s third only showed 125 on the scoreboard.

This is where it’s important to be aware. In the USAPL and most other federations, you can change your third deadlift call almost right up until you lift (technical note – read the rules, but basically, you can change it up to twice, until the bar is loaded or your name is called). Since there was another lifter in the flight between her competitor and Jess, I had plenty of time to change the final attempt. In this case, the other woman pulled her third successfully (with a lot left in the tank), and I immediately increased Jess’s third deadlift to 132.5kg/292lbs, without telling her what was going to be on the bar.

She got jacked up, yanked the earphones out, and I looked deep into her eyes. She knew this was going to be something heavy, and she knew it was important. But most importantly, she knew that I believed she could pull it. She stomped to the chalk bowl, breathed in as much oxygen as she could…

And she got it.

Jess makes her winning pull look easy.

I’m extremely proud of Jess for having the mental fortitude to have such a great meet. She trusted me, as her coach, to handle her attempts to put her in the best situation (in regard to both personal records and overall standing), and she got “in the zone” when needed. She followed our standard hydration and nutrition (read: forcing herself to get all the hydration and calories throughout the day), and she walked away with a gold medal. You can only beat who shows up – and most importantly, you should never beat yourself.

jessandjacob


Coach, Lifter, and Hardware.  


AC Discusses the Bench

Here’s the second installment of “AC teaches you how to do stuff more awesomely.” Last week, he went over some tips on how to press better. Today, he goes over how to coach a proper bench setup, and shows us a couple dozen nip slips. It’s fine. – Jacob


Have the athlete lay down on the bench (obviously). From there have them reach and grab the posts (like in the video) in order to pull their scapula (shoulder blades) together. Having them grab the posts can give them a better “pinch” then they might be able to do otherwise. Pulling the shoulder blades or scapula together artificially shortens the bench ROM as well as changing the angle of contraction for the pecs. If the shoulders are rounded out or flat, the chest contracts at an inward angle because of the attachment points at the shoulder and the middle of the chest. This causes the force to be applied at an inward angle. “Pinching” or retracting the scapula changes the angle of contraction so the force is applied in a more vertical, linear, fashion.

Once that is discussed you can simply sum all of that up by cueing the word “Pinch” or whatever you like. This is something that you talk to the athlete about ahead of time. Some guys like to hear “squeeze” instead.

From there, the athlete can now settle into his arch. What helps me when I arch is to try and think about getting my hips as close to my shoulders as possible. Again, this artificially shortens the bench ROM and allows for a better bar bath to the sternum. As I mentioned in the video, the arch and feet position can be done pretty much at the same time. There is literally no worry for risk of spinal injury from arching. Sometimes females can go into over-extension because they can be more mobile than a lot of guys. You might have to look for that if you coach any ladies. The only worry is cramping up at the low back and anterior hip, which proper mobility work can prevent. Anyone who says otherwise is an idiot. There is no compression of the spine at any point in time during the bench. The heels provide extra “drive” into the bar. Having them flat is important so they can “drive” or “dig” their feet into the ground. Having plantar flexion is basically adding a weak point in the chain. If they are on the balls of their toes, they can lose force production through the ankle. You just have to logically think “What can serve as a harder brace? My entire foot based on the floor, or the small surface area that I am pushing through with my calf?” The heels need to be slightly behind the knees. You can get a visual of that from the video I linked. Tell your lifter to “imagine you’re extending your knee to make your body slide up the bench” — NOT driving them so that the butt drives up to the ceiling. This solidifies the pinched upper back onto the bench and prevents any variability due to instability. That last part is courtesy of Jenn Thompson. She mentions it in her video and it’s a good take-home point. She is a really nice lady and I think I have a crush on her. (editors’s note – JT rules. <3)

After this is all discussed, you are going to sum it up with “Arch” and “Heels”.

When your athlete is setting up remind them. As a coach, you are a commanding presence, so cue the set up. “Heels!” “Arch!” “Pinch!” “Nice and tight!” The more emphasis on the set up, the easier the lift becomes. Justin likes to use the terms “Active Heel” and “Active Pinch.” Those are really good to cue because the set-up isn’t cemented. Guys can fall out of their arch and pinch, so during the set you have to actively maintain that position.

Some other info/cues that are equally important are:

Grip. When the lifter grips the bar, it should be a full grip. None of that suicide thumbless grip shit. I don’t care if they have been benching like since they began. It’s horse-shit and dangerous. From the coaches perspective (you!), the forearm should be at a 90 degree angle with the bar when the bar is on the chest (in other words, the forearms are vertical at the bottom of the rep). This puts the athlete at the most advantageous spot for the shortest distance for the bar path and the most musculature involved in the lift. As far as grip width goes, keep in mind that wider grips put a lot of stress on the elbows and shoulders and make it hard to stay externally rotated throughout the movement.

Elbows. This is very important. If they elbows “flare” out (which is called “Internal Rotation”), THIS IS BAD. You can do external/internal rotation reading this right now. Reach out in front of you and rotate your arms in. Your right hand rotates clockwise and the left goes counter clockwise. Basically, it’s like tucking in the elbows. You are stronger during any pushing when in external rotation. The cue to use is “Elbows to Ribs”. You can shorten that if you want to just “Elbows,” after you have explained it.

Finally, whenever I coach people, I try to make a point to tell them that the object is not to bounce the bar off your chest. The point is to lightly touch and “DRIVE” off the chest.

I think I covered it all. If you have a question about any of that, fire away.


Here’s a video of Justin explaining internal and external rotation:


Sumo Deadlifts Are The Devil!! …Right?

Today’s post is brought to you be the letters A and J, as in AJ Loreto. AJ trains out of Just Lift Inc., in Fort Lauderdale, Florida. His best competition lifts (all USAPL) include a 240kg squat, 150kg bench, 297.5kg DL, and 687.5kg total at 90kg body weight. He also has a boat, and runs a sweet t-shirt company. So read what he has to say, and learn from one of the top raw lifters in the country…that has a boat. – Jacob


The sumo deadlift. Competition legal for powerlifters, but hated worse than carbs in a Crossfit gym. Why do sumo pulls receive so much hate? It seems everyone’s got a hard-on for deadlifts nowadays – probably because you can stack some plates on the bar, pick it up, and feel like a bad ass. Crossfit, Strongman, Powerlifters, Bodybuilders; everyone can use them, and move a lot of weight. Feels Good Man. Now, I suspect sumo is disliked because it APPEARS you can be able to move even more weight compared to conventional, and well, haters gonna hate. So how many people in the 70sBig community have tried to pull sumo? Why not get out of your typical routine and give a barbell a tug with your legs spread wide? I bet you’d be surprised at what your strength is like going from conventional to sumo.

Why did I start caring about sumo? I was training on an afternoon with friends who dared me to sumo in a typical pissing match that occurs training hungover on Saturdays (editors note: Yessssssssss). It turns out I managed almost 90% of my conventional best for a double. This was pretty good motivation to give sumo a real go. Anything to increase my powerlifting total is a good thing, and if I get bigger and stronger in the process, I would probably like that as well.

To begin incorporating sumo, oddly enough, I maintained my conventional pulling as prescribed by the program I was running at the time (a modified 5/3/1). To add in the sumo, I began pulling each warm up weight both sumo and conventional. Then, at each work weight I would tug a single at each weight sumo. By doing only a single I was not changing the volume of my workout significantly. After 1 wave (phase, cycle, whatever) of this (4 weeks of training), I switched the movements. I pulled a single conventional and the prescribed reps sumo. Again, the intention was to keep my volume similar. As it turns out, I was smashing the shit out of my rep maxes sumo (nearly twice as many reps as I could hit conventional at a given weight but with consistent small increases in work weight – the changes in volume after the switch were not extreme). I ran this programming for several waves and believe it was effective and getting my form in order and increasing my strength.

Initially, pulling singles sumo helped develop the ‘groove’ for sumo and helped stretch out my hips a significant amount. Sumo requires, just like the squat, for you to keep your knees tracking out over the toes. Without enough flexibility to keep your knees out, many people will complain about knee pain pulling sumo. Maintaining enough ‘knees out’ will also work to get your glutes involved and is paramount to a good sumo pull. Of course you can consult your favorite coaches for advice on knee and toe placement, but I would bet that by and large most coaches would recommend knees and toes in a line, and pointed out.


Knees Out = Good

Knees caving in = pain


Because of the change in relative angles of your body parts, when pulling sumo, the back of the trainee will tend to be more upright than a conventional pull.

Conversely, the femurs will be more horizontal and the knee angle more acute. Because of the changes in the joint angles for the lifter, most will note that their back is not the limiting factor in the pull, but rather the legs and or hips will be the weakest muscles involved. What does this mean for you? If you suspect your back is weak-sauce when pulling, why not try sumo to grab a few extra pounds in the ego bank? If your back is as thick as thieves, maybe your hips and legs are lame and sumo can get them up to par with your upper body (why you no train legs bro? why?). In any case, developing strong hips at the bottom of a sumo pull should carry over nicely into a great number of lifts: your squat, conventional deadlift and even stone lifting.


Sumo: Note the vertical torso and knee angle

Conventional: Note the more horizontal torso and larger knee angle


Stone lifting is an item that I personally have not read much (anything) about. I learned to pick up stones in a garage where my friend told me to ‘pick it up.’ No matter how one is coached (or not coached) in stones, one thing WILL happen, and that is the lifter will straddle the rock in some capacity. The spreading of your feet to the outside of the stone will put your legs outside of your conventional deadlift stance (unless you’re some weirdo who hates Vince Anello and has their feet super wide and grips the bar even wider). Granted, your foot width might not be as wide as a sumo stance when handling stones, but the idea still remains: you’re grabbing an object off the floor, using plenty of hip and hamstring, and trying to push your chest up off the floor. Attempting to keep your stance narrow and the stone in front of the feet will not be an easy task, if it is possible at all. The stones are generally large enough in diameter that even if you had the strength, you physically would not be able to balance with your feet behind the stone (imagine picking up a barbell greater than your body weight that is 6+ inches in front of your toes). So spreading your legs and pulling with similar joint angles to stones will probably make sumo a tasty movement for strongmen.

For me and some teammates, I have found that my 1 rep max is incredibly close for both versions of the deadlift. Interestingly, for a given percentage of 1RM, I have noticed many lifters will hit more reps sumo. This has been my personal observation, and I’d encourage you to see how your numbers pan out. Training with a higher percentage of 1RM in a given rep range, or using higher reps at a given percentage of 1RM, may prove to be helpful in your training. Either of these will increase working volume and, if recovered from correctly, should increase ones strength. Increasing volume over time is a staple to most (if not all) training philosophies (when considering a consistent, long, multi-cycle period of time – not a single training cycle). With this in mind, if the overreach in volume is not too great to prevent adequate recovery, switching to sumo and achieving more reps or using a higher percentage should be a benefit to your training.

Initially, when training sumo the differential in reps can be deceiving and you might think that your 1RM will be significantly different. Therefore, it will be worth your while to hit some heavy singles in the gym before you hit the platform and end up making a bad attempt call. Most trainees will find properly performed sumo attempts to be slow off the floor, but fast towards the lockout of the repetition. With this in mind, if your attempt is too heavy, the bar will be glued to the floor, whereas a conventional pull will break and might wind up stalling around the knees.

I hope you give sumo a go at some point or another. I know it’s made me a more well rounded lifter, and I believe it will add to your strength in other movements, from squats to stones (note: I really believe it is huge for stones) and even your conventional deadlift. As always, Implement changes carefully and track your progress! And stop hating on sumo, fool.